
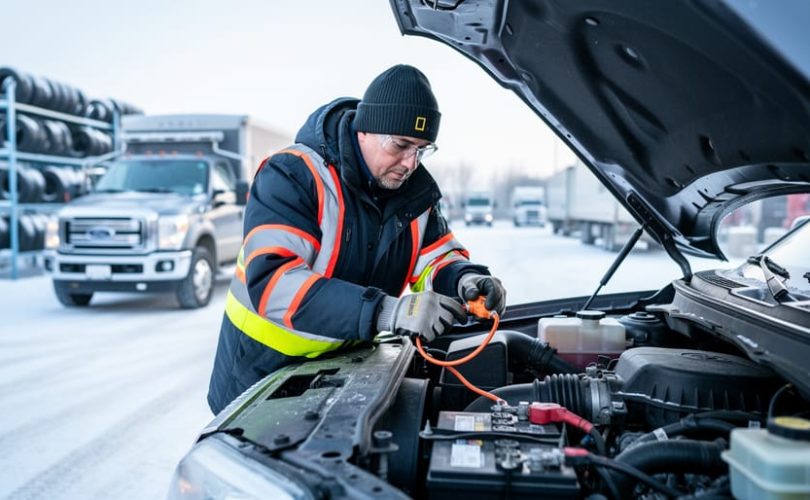
Canadian fleet managers preparing for winter face a straightforward challenge: complete a seven-step maintenance protocol before the first freeze or risk unplanned downtime, costly roadside failures, and compliance headaches. Effective maintenance fleet management means inspecting and winterizing cooling systems, batteries, tires, fluids, electrical components, brakes, and engine block heaters in a documented sequence that aligns with Transport Canada’s National Safety Code standards and provincial commercial vehicle inspection requirements.
Winter preparation is not a discretionary task. Cold-weather failures disrupt delivery schedules, strand drivers, and erode customer confidence. The industry insights driving this checklist come from real-world Canadian operations where proactive inspection routines reduce emergency service calls and protect asset value. For managers responsible for uptime and safety, understanding current fleet manager statistics helps benchmark your own performance and justify the time invested in pre-season maintenance.
This guide walks you through each of the seven steps in detail, lists the tools you need, highlights safety warnings specific to heavy-duty equipment, and provides verification methods to confirm your fleet is ready. Whether you oversee a mixed fleet of Class 8 tractors and light commercial vehicles or manage a single owner-operator unit, these practical steps will help you meet regulatory requirements and keep vehicles moving through Canadian winters.
Tools, Materials, and Pre-Winter Prep Checklist
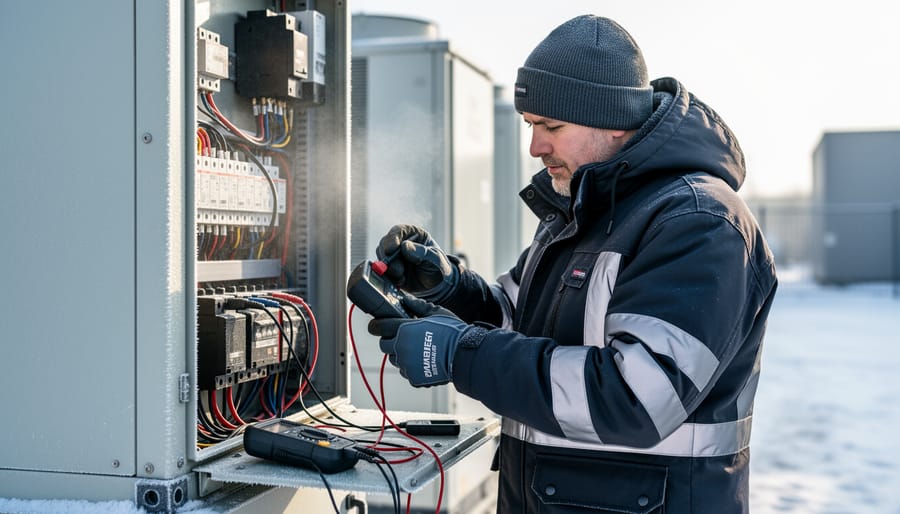
Successful fleet winterization starts with the right equipment and a realistic timeline. Schedule your pre-winter maintenance window at least four to six weeks before your region’s typical first hard freeze, waiting until November in most of Canada means working in freezing bays and risking that first cold snap catches unprepared vehicles on the road.
Your technicians need specific diagnostic tools to assess winter readiness accurately:
- Refractometer or antifreeze test strips for coolant freeze-point verification
- Battery load tester to measure cold-cranking performance under load
- Digital tire pressure gauge calibrated for cold-weather readings
- Multimeter for testing block heater circuits and glow plug systems
- Tread depth gauge to verify legal and practical winter traction limits
Stock winter-grade consumables before you start inspections: winter-blend diesel fuel or anti-gel additives, windshield washer fluid rated to minus 40 degrees Celsius, appropriate-viscosity engine oil for cold starts, and replacement coolant meeting manufacturer specifications. Verify you have spare block heater cords, wiper blades, and emergency kit supplies on hand.
Documentation matters for compliance and accountability. Prepare inspection checklists that align with Transport Canada daily inspection requirements, maintenance logs that track completed winterization tasks by unit number and date, and deficiency tags for vehicles awaiting repair. Digital fleet-management systems simplify record-keeping, but paper backups work if you maintain them consistently. Tag each winterized vehicle with completion date and technician initials so dispatchers know which units are cleared for winter service.
Safety and Environmental Warnings
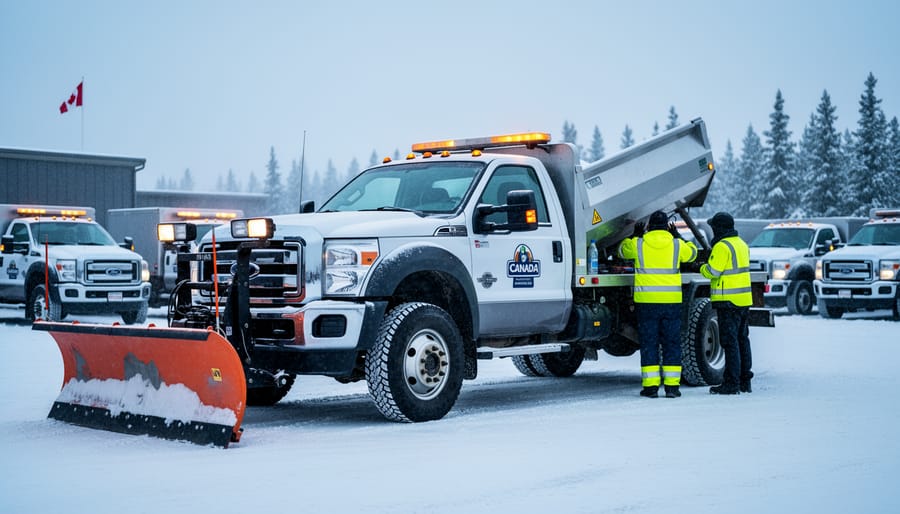
Winter fleet maintenance involves genuine hazards that demand strict safety protocols and environmental compliance. Before any technician begins winterization work, establish lockout/tagout procedures to prevent accidental vehicle start-up during servicing. Engines and cooling systems can retain heat for hours after shutdown; never open a radiator cap on a warm system, pressurized coolant can cause severe scalding. Similarly, battery terminals carry enough current to cause arc burns, and sulfuric acid electrolyte requires eye protection and chemical-resistant gloves.
High-pressure tires present crush and explosion risks if damaged sidewalls fail during inflation checks. Work in well-lit areas, use calibrated gauges, and stand to the side, never directly in front of, a tire being inflated. Canadian environmental regulations require proper disposal of used antifreeze, oil, and other fluids; these cannot be poured down drains or onto soil. Collect spent fluids in approved containers and arrange pickup through licensed waste haulers. Following these maintenance tips protects both your team and regulatory compliance, preventing workplace injuries and environmental penalties during the winter prep process.
Step-by-Step Fleet Winterization Process
Step 1: Inspect and Test the Cooling System
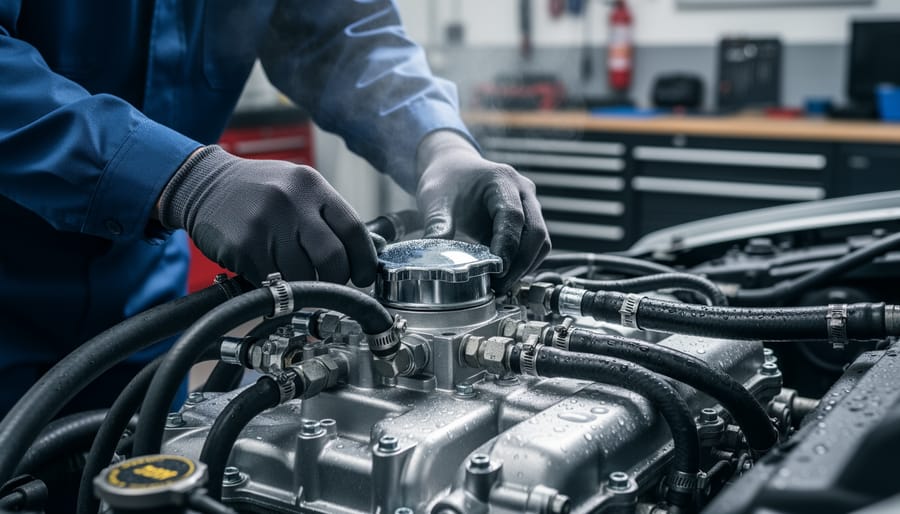
Start by testing antifreeze concentration with a refractometer or test strips at both the radiator and overflow reservoir. The cooling system must protect against your region’s coldest expected temperatures, southern Ontario fleets typically prepare for -35°C, while northern operations plan for -45°C or lower. If concentration is weak or the freeze point inadequate, the system needs service.
Walk the entire cooling circuit looking for leaks, particularly at hose connections, the water pump weep hole, and heater core fittings. Squeeze accessible hoses to find soft spots, cracks, or brittleness that signal age-related failure. Check all clamps for rust and proper tension, loose clamps that weep in mild weather can blow off under cold-start pressure surges.
Inspect the radiator cap and pressure-test it if you suspect a weak seal. A failing cap allows coolant to escape and air to enter, both of which compromise freeze protection and heat transfer.
If coolant is contaminated with oil, rust particles, or hasn’t been changed on the manufacturer’s service interval, flush and refill the system completely. Use premixed coolant suited to your engine type, or mix concentrate with distilled water to the manufacturer’s specified ratio. Retest concentration after refilling to confirm protection, and bleed air from the system per the vehicle’s procedure to prevent hot spots and heater failures.
Step 2: Load-Test Batteries and Charging Systems
Cold weather is merciless on batteries. A unit that starts reliably in September may fail completely at −20°C because chemical reactions inside the battery slow dramatically as temperatures drop. Load testing each battery before winter identifies marginal performers while they’re still on the yard, not stranded on a highway at 3 a.m.
Use a calibrated load tester to apply a draw equivalent to half the battery’s cold-cranking amp (CCA) rating for fifteen seconds, then read the voltage. If voltage falls below the manufacturer’s threshold, often around 9.6 volts for a 12-volt battery, but confirm the spec, replace it. Batteries typically lose capacity as they age; a three-year-old battery that passes in mild weather may lack the reserve to turn over a cold-soaked diesel engine.
Inspect terminals and cable ends for white or blue-green corrosion, which increases resistance and wastes cranking power. Clean connections with a wire brush and apply dielectric grease. Check cable insulation for cracks that let moisture in and freeze.
Test the alternator’s output with a multimeter while the engine runs: charging voltage should sit in the 13.8 to 14.4-volt range for most trucks, but verify against the OEM specification. A weak alternator won’t recharge batteries fully, compounding winter start problems. Inspect the drive belt for glazing, cracks, and proper tension; a slipping belt can’t spin the alternator effectively. Replace any belt showing wear rather than gambling on it lasting through the season.
Step 3: Switch to Winter-Grade Fluids
Cold weather changes fuel and fluid behaviour in ways that can stop a truck dead. Winter-grade diesel resists gelling at low temperatures, while summer blends can turn waxy and clog fuel filters when the mercury drops below freezing. If your fleet operates in regions where temperatures regularly fall below -15°C, switch to winter-blend diesel or add an anti-gel additive to every fill. Follow the product manufacturer’s dosage instructions and add the treatment before fuelling so it mixes thoroughly.
Check your windshield washer reservoir and top it up with fluid rated for the coldest temperatures you expect. A -40°C-rated formula prevents freezing and keeps windshields clear when road spray and snow reduce visibility. Summer washer fluid will freeze solid in the lines and leave drivers unable to clean their glass.
Engine oil viscosity matters for cold starts. Consult each vehicle’s owner manual or the engine manufacturer’s specification sheet to confirm the recommended oil weight for winter operation. A 5W-30 or 0W-40 synthetic often flows better at startup than a 15W-40 conventional oil, reducing wear and improving cranking. If your fleet is still running summer-weight oil as autumn ends, schedule oil changes before the first hard freeze.
Step 4: Check Block Heaters and Cold-Start Aids
Block heaters and cold-start aids prevent the no-start failures that strand vehicles in freezing weather. Begin by plugging in each block heater and verifying the cord draws power, use an outlet tester or infrared thermometer on the engine block after thirty minutes to confirm heat transfer. Inspect the entire cord length for frayed insulation, exposed wire, or cracked plugs that create shock hazards or connection failures. Check receptacles and mounting brackets for rust or damage.
On diesel units, test glow plugs with a multimeter to measure resistance on each cylinder; replace any that fall outside the manufacturer’s specified range. Grid heaters require visual inspection of the element and electrical connections, listen for the relay click during key-on and verify current draw matches specifications. Document which vehicles have functioning systems and which need repairs before temperatures drop further.
Brief drivers on pre-heating protocols: when overnight lows approach the threshold for your equipment, plug in heaters two to four hours before dispatch. Post reminder cards near ignition switches listing minimum plug-in times and temperature triggers, so cold-start procedures become routine rather than guesswork.
Step 5: Inspect Tires and Adjust Pressures
Tire condition directly affects traction, stopping distance, and blowout risk in winter weather. Start by measuring tread depth with a gauge at multiple points across each tire. Transport Canada’s National Safety Code requires a minimum tread depth of 4.8 mm on steer axles and 3.2 mm on other positions, but deeper tread performs better on snow and ice. Many fleet managers set higher internal minimums for winter routes to maintain grip.
Inspect sidewalls and tread faces for cuts, punctures, bulges, or exposed cords. Check for uneven wear patterns that signal alignment or suspension problems needing correction before winter stress amplifies them. Remove embedded debris from tread grooves.
Adjust tire pressures for the seasonal temperature drop. Cold air contracts, reducing pressure inside tires, so what reads correctly in warm conditions will be underinflated after a hard freeze. Check and adjust pressures when tires are cold, referencing the placard specifications for your vehicle’s load. Underinflation increases rolling resistance, fuel consumption, and sidewall flexing that can cause blowouts on frozen roads.
For severe-service routes in northern regions or mountainous terrain, evaluate whether dedicated winter tires justify the investment. Winter compounds stay flexible in freezing temperatures and provide superior traction compared to all-season rubber.
Step 6: Service Brakes and Air Systems
Moisture in compressed air systems is a silent saboteur in winter. As air cools, water vapor condenses inside tanks, lines, and valves. When temperatures drop below freezing, that moisture turns to ice, blocking air passages and preventing brakes from releasing, a dangerous scenario that can strand vehicles or cause accidents.
Start by draining all air tanks daily during winter months, not just weekly. Most vehicles have manual drain valves at the bottom of each tank; open them fully until only dry air escapes, then close and check for leaks. Inspect air lines for cracks, chafing, and loose fittings that let moisture enter the system. Check brake chambers for corrosion or air leaks, and verify slack adjusters move freely without binding.
Test your air dryer by monitoring the system’s purge cycles. A functioning dryer should expel a short burst of air every few minutes as it removes moisture. If the dryer purges constantly or not at all, replace the desiccant cartridge or service the unit. Inspect the dryer’s heater element if equipped, it prevents the purge valve from icing shut.
Walk around each vehicle and manually check that spring brakes release fully when air pressure builds. Sluggish release or unusual hissing sounds indicate ice formation or component wear that needs immediate attention before the vehicle enters service.
Step 7: Verify Lighting, Wipers, Defrosters, and Emergency Kits
Start by walking around each vehicle to test every exterior lamp: headlights (high and low beam), turn signals, brake lights, clearance lamps, and marker lights. Canadian winter roads mean shorter daylight hours and reduced visibility during storms, so a single burnt bulb or iced-over lens can trigger a roadside inspection failure or worse, a collision. Clean lamp housings thoroughly, road salt and grime accumulate quickly, and replace any dim or flickering units before they fail completely.
Check wiper blades for cracks, hardening, or torn rubber. Winter blades with protective rubber boots resist ice buildup better than standard blades. Test the wiper motor under load and top up washer fluid with a winter-rated formula that won’t freeze in the reservoir or lines. A windshield smeared with salt spray is a safety hazard, and drivers need reliable wipers to maintain visibility.
Confirm that defrosters and heaters blow hot air at all vents. Test the defroster’s ability to clear fogged or frosted glass within a reasonable time. A weak heater core or malfunctioning blower motor leaves drivers struggling with ice on the inside of the windshield, creating blind spots and unsafe operating conditions.
Stock each vehicle’s emergency kit with thermal blankets, road flares or reflective triangles, a bag of sand or kitty litter for traction, extra washer fluid, a flashlight with fresh batteries, and a first-aid kit. Review cold-weather protocols with drivers: when to idle for warmth, how to signal distress, and who to contact if stranded.
Post-Winterization Verification and Documentation
Once you’ve completed all seven winterization steps, a final walk-around confirms each vehicle is genuinely winter-ready. Assign a technician to verify antifreeze protection, battery voltage, tire pressures, block heater function, brake air-system drainage, and emergency-kit contents against your master checklist. Record the inspection date, technician name, and any deviations or repairs in your fleet-management software or paper logbook, this documentation satisfies Transport Canada’s daily inspection requirements and protects warranty claims if a component fails despite proper maintenance.
Integrate winterization records into pre-trip inspection routines so drivers know which vehicles passed and when the next check is due. Export summary reports for management review, fleet software can flag units approaching re-check dates or missing documentation. Pair these verification steps with driver training on cold-weather protocols ensuring operators recognize early warning signs, hard starts, sluggish defrosters, or low tire pressure, and report them before a breakdown occurs. Clear sign-off procedures and accessible records turn winterization from a seasonal task into an auditable, repeatable process that reduces risk and keeps your fleet moving through the coldest months.
Frequently Asked Questions
When should I start winterizing my fleet?
Begin winterization in late September or early October, well before the first hard freeze. Scheduling early gives your maintenance team time to address any issues without rushing, and ensures vehicles are ready when temperatures drop suddenly.
Can I handle winterization in-house or should I outsource it?
In-house winterization works if you have trained technicians, diagnostic equipment, and shop capacity to process your fleet before winter arrives. Outsourcing to a fleet-management provider makes sense when you lack facilities, face seasonal volume spikes, or need to redeploy your team to other priorities during the busy pre-winter period.
What happens if I skip winterization on some vehicles?
Vehicles that aren’t winterized face increased risk of no-starts, frozen fuel lines, brake failures from air-system moisture, and roadside breakdowns that strand drivers and delay deliveries. The cost of emergency repairs and lost productivity typically exceeds what proactive winterization would have cost.
How often should I perform mid-winter checks?
Conduct spot checks every four to six weeks during winter, focusing on battery health, fluid levels, tire pressures, and air-system moisture. Drivers should also complete thorough pre-trip inspections daily, as required by Transport Canada regulations, to catch developing issues early.
Do electric or hybrid fleet vehicles need different winter prep?
Yes. Electric and hybrid vehicles require battery thermal-management checks, charge-system tests, and cabin-heater inspections since cold weather reduces battery range and efficiency. Confirm that charging infrastructure is winter-rated and that drivers understand range limitations in freezing conditions.
These questions reflect the concerns fleet managers raise each fall. Addressing them early prevents confusion and ensures your entire team understands the winterization process, timing, and expected outcomes. Clear communication about what winterization accomplishes and why it matters helps secure buy-in from drivers, shop staff, and leadership, making the rollout smoother and more effective across your operation.